DIY Classroom Solutions That Don't Look DIY
Last week, my principal walked into my classroom during my planning period. I was hot-gluing fabric to a cardboard box, surrounded by what looked like the aftermath of a craft store explosion. She raised an eyebrow and asked, "Maria, what exactly are you making?"
"A reading nook," I said, trying to sound professional while peeling dried glue off my fingers.
She nodded slowly. "It looks... very homemade."
Ay, dios mio. That's when I realized I needed to up my DIY game.
The Reality of Teacher DIY
Let's be honest, we've all been there. We see those Pinterest-perfect classrooms and think, "I can totally make that!" Then we end up with something that looks like our kindergarteners made it during indoor recess.
But here's the thing. We're working with shoestring budgets, and sometimes DIY is our only option. The trick isn't avoiding DIY projects. It's making them look intentional instead of desperate.
After 22 years of classroom fails and wins, I've learned some tricks that make my homemade solutions look like I actually meant for them to exist.
Start with the Right Materials
My first mistake as a new teacher was thinking I could make everything out of construction paper and hope. Spoiler alert: construction paper fades, tears, and screams "amateur hour."
Now I invest in a few quality materials that make everything look more polished:
Contact paper is your best friend. I'm not talking about the cheap stuff from the dollar store. Get the good contact paper from Home Depot. It's thick, durable, and comes in wood grain and marble patterns that actually look convincing.
Foam core beats cardboard every time. Yes, it costs more upfront, but it doesn't warp, dent, or look like you raided the recycling bin. I use it for everything from bulletin board backdrops to desk organizers.
Vinyl letters instead of hand-lettering. Unless you have gorgeous handwriting (I definitely don't), invest in a pack of vinyl letters from the craft store. They're crisp, professional, and save you from the "teacher font" look.
The Magic of Spray Paint
This might be the best tip I can give you: spray paint transforms everything.
Last year, I needed storage bins for my math manipulatives, but the only ones in my budget were these awful neon plastic containers that hurt to look at. Twenty minutes with some matte black spray paint, and suddenly they looked like expensive organizational tools.
I've spray painted: - Plastic bins (obviously) - Picture frames from thrift stores - Old coffee cans for pencil holders - Cardboard letters for bulletin boards - Even some sad-looking fake plants
Pro tip: Always use primer first, and do this outside or Carlos will ban you from the garage again.
Fabric: The Great Disguiser
Fabric can make anything look intentional. I'm not talking about complicated sewing projects here. I'm talking about strategic fabric application.
Table runners hide a multitude of sins. Got an old, scratched desk? A nice table runner suddenly makes it look like a design choice. I found a gorgeous burlap runner at HomeGoods for eight dollars, and now my teacher desk looks like it belongs in a farmhouse magazine.
Fabric over cardboard boxes creates instant storage. I wrap fabric around cardboard boxes and secure it with a glue gun. Add a cute label, and nobody knows you're storing supplies in old Amazon boxes.
Curtain panels as bulletin board backgrounds. This was a game-changer for me. Instead of covering my bulletin boards with paper that fades and tears, I use fabric panels. They last all year, and they give the whole wall a sophisticated look.
Lighting Makes Everything Better
Harsh fluorescent lighting makes even expensive decorations look cheap. But good lighting makes DIY projects look intentional.
I bought a few table lamps from thrift stores and placed them around my classroom. Suddenly, my homemade reading corner looked cozy instead of cobbled together.
String lights are another miracle worker, but please, for the love of all that's holy, use warm white LED lights. Not the multicolored ones that make your classroom look like a college dorm room.
The Power of Grouping
One lonely DIY project looks sad and homemade. But group three similar items together, and suddenly it's a design statement.
I learned this the hard way when I made one fabric-covered storage box and stuck it on a shelf by itself. It looked pathetic. But when I made two more and grouped them together, they looked like I'd ordered them from Pottery Barn.
This works for everything: - Picture frames - Plants (real or fake) - Storage containers - Decorative elements
Templates Are Your Friend
Nothing says "homemade" like wonky lettering or uneven shapes. I used to freehand everything and wonder why it looked so amateur.
Now I use templates for everything. I print letters from my computer, trace shapes with stencils, and use rulers for straight lines. Revolutionary, I know.
For bulletin boards, I create all my letters and shapes on my computer first, then print them as templates. It takes longer upfront, but the finished product looks professional.
Color Coordination Is Everything
This might be the most important tip: stick to a color scheme. I see so many classrooms that use every color of the rainbow, and it just looks chaotic.
Pick three colors max and stick to them. My classroom is navy, white, and natural wood tones. Everything I make or buy fits this scheme, so even my DIY projects look like they belong.
When I'm spray painting those plastic bins, I always use the same color. When I'm picking fabric, I stick to my palette. It makes such a difference.
The Finishing Touches
The difference between "homemade" and "handmade" is often in the details.
Clean edges matter. Take the time to trim fabric evenly and sand rough spots on wood.
Labels elevate everything. A nice label makes any container look official. I use a label maker for most things, but even hand-written labels look good if you use nice paper and take your time.
Hide the mechanics. If you can see the glue, staples, or tape, it looks DIY. Take the extra time to hide your construction methods.
Start Small and Build Confidence
Don't try to transform your entire classroom in one weekend. Start with one small project and do it really well. Build your skills and your confidence before tackling bigger projects.
My first successful "fancy DIY" project was covering a tissue box with fabric and adding a label. It sounds simple, pero it looked so much better than the cardboard Kleenex box, and it gave me confidence to try bigger things.
The Bottom Line
We're teachers, not interior designers. But we spend more time in our classrooms than in our living rooms, and our students deserve spaces that feel intentional and welcoming.
You don't need a huge budget to create a classroom that looks professional. You just need to be strategic about your DIY choices and take the time to do them well.
Trust me, your principal won't raise an eyebrow at your next project. She might even ask where you bought it.
What's your best DIY classroom hack? I'm always looking for new ideas, especially ones that don't involve me explaining glue gun burns to my husband.
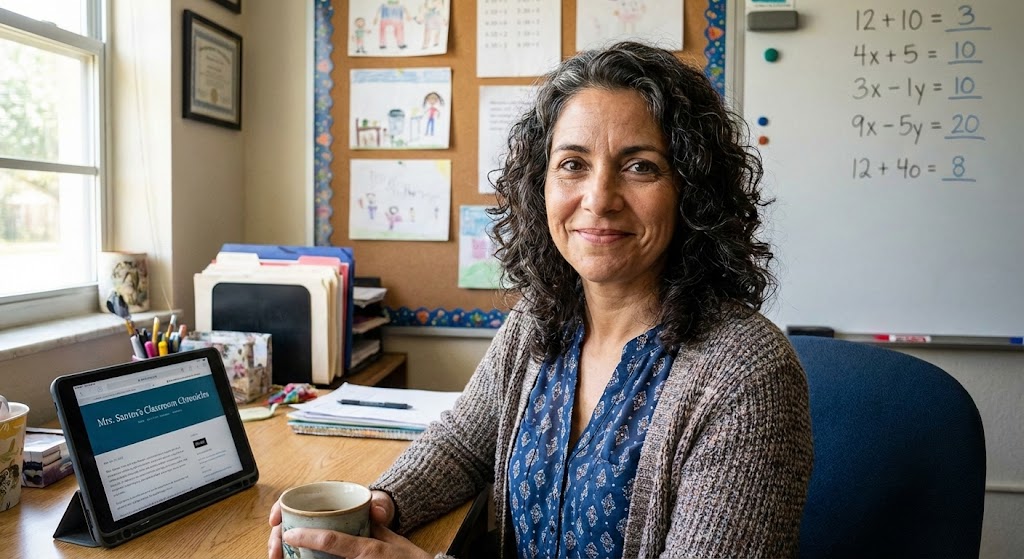
Maria Santos
Maria has been teaching 4th grade in Tampa, Florida for 22 years. Known as "the math whisperer" among her colleagues, she writes about the real challenges and victories of teaching in Florida's public schools.
When she's not grading papers or creating lesson plans, you can find Maria at her local teacher supply store (with coupons in hand) or sharing teaching tips over cafecito with her teacher friends.
View Full Profile →Related Articles
The Broke Teacher's Guide to Back to School Shopping (Without Losing Your Mind or Your Wallet)
Budget-friendly teaching tip: Let me tell you about August 2019. I walked into Walmart with a list, ...
Dollar Store Math Manipulatives That Actually Work (And Won't Break Your Heart When They Disappear)
Budget-friendly teaching tip: Last September, I spent forty-seven dollars of my own money on a beaut...
Ready to Improve Your FAST Scores?
Upload your class data and get personalized IXL success plans in seconds.
Try It Free